


Luxury vinyl tile is a tough and at ease choice to classic tile floors.
It’s simple to clear and it hides stains pretty nicely. Also, because it’s manufactured from vinyl, it is softer on your joints than rigid tile.
Setting up it by yourself is quick, and can be done in just a weekend. Here’s how to do it.
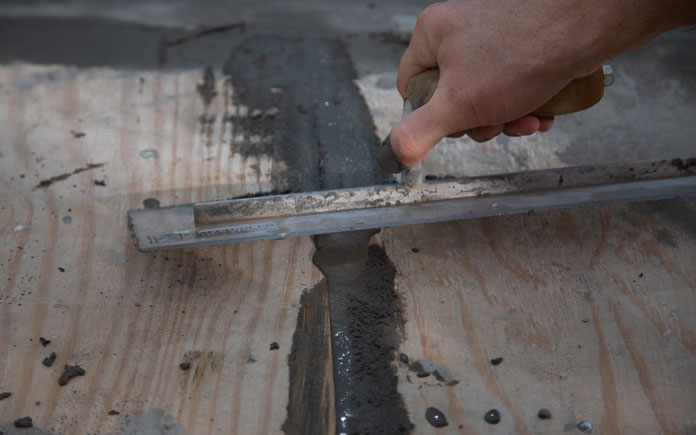
Right before setting up luxury vinyl tile, the surface it will go over have to be clean up and level. To make confident it’s clean and flat, use a self-leveling underlayment, like Custom Constructing Goods LevelQuik RS Self-Leveling Underlayment.

The tile we’re using has a developed-in pad so there is no need to have to set up an underlayment. Start in a corner of the longest wall in the room, positioning the tiles with the tongue facet out.
The tongue on luxurious vinyl tile is the modest flat edge on one facet of the tile that is angled to lock into the bottom aspect of yet another tile (the groove aspect).

To make certain we have equal-sized lower items on possibly side of the place, we cut our 1st row of tiles down to 8 and 3/4 inches.

Place every piece about 3/8 of an inch from the wall so there is home for enlargement. For this luxurious vinyl tile, we’re aligning them with the base molding simply because it’s a very little broader than that measurement.

On the to start with row, you’ll only need to have to snap the stop joints together. For the subsequent row, align the conclude joint then tilt the tile down so the for a longer time joint lines up.

Offset each and every new row by 50 % from the former one right before tapping equally joints in area with a rubber mallet.

When you have to have to reduce the tile, simply align the tile and mark the edges at the impediment, then join the strains utilizing a speed sq.. Cuts can be manufactured with a observed or with a utility knife to score and snap the tiles.

At the time all the tiles are in location, nail shoe molding to the baseboard to cover any gaps and secure the edges of the flooring.
Additional Looking through


