


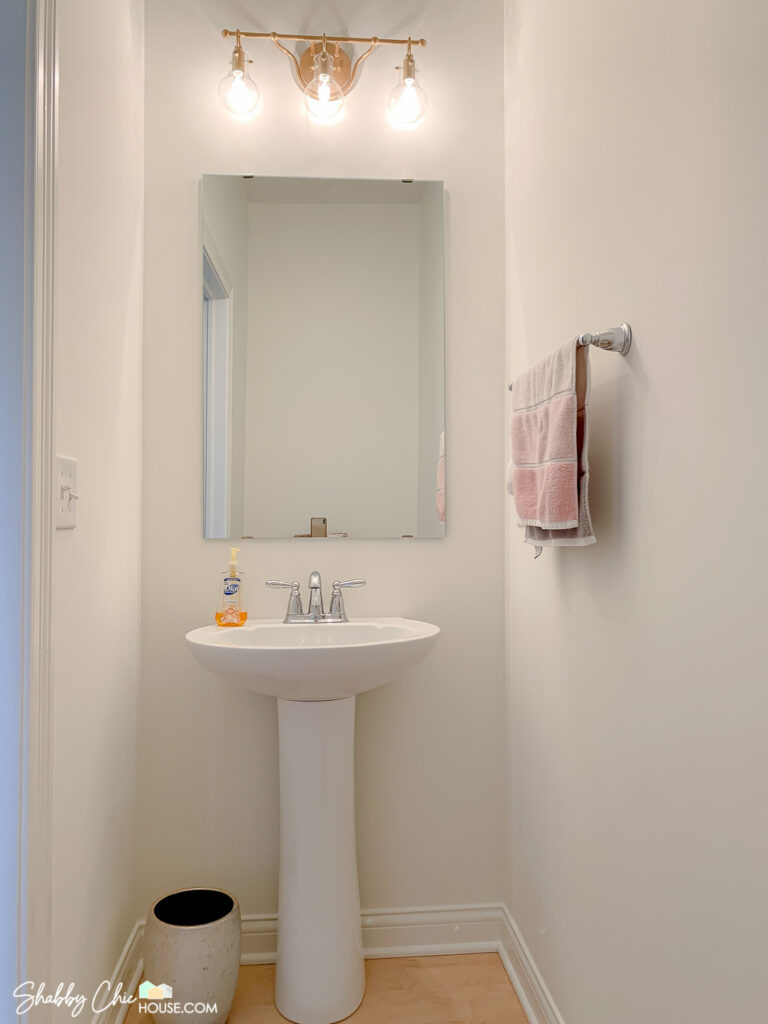
Wainscoting is astounding at transforming a basic/monotonous area and supplying it a bit of class and elegance. At the ShabbyChicHouse we appreciate the additional traditional wainscoting more than the a lot more modern board and batten as it has a classic appear that can stand the check of time.
In this brief Diy tutorial, I’ll walk you via a several wainscoting structure ideas, the tools of the trade and all the things else you need to have to knock out this career in just a weekend.
Some of our posts comprise affiliate links. We frequently share back links to the resources & products utilized in our home advancement initiatives and if you buy just one of these items making use of our hyperlink, we may perhaps generate a compact commission (at no further price tag to you).
Wainscoting Layout Suggestions
Prior to you do just about anything, you want to come up with a thorough plan for each individual and each wall in the place. How quite a few containers do you want on every wall? What dimensions must they be? Expend a swift 5-10 minutes sketching up your program prior to you get started chopping wooden.
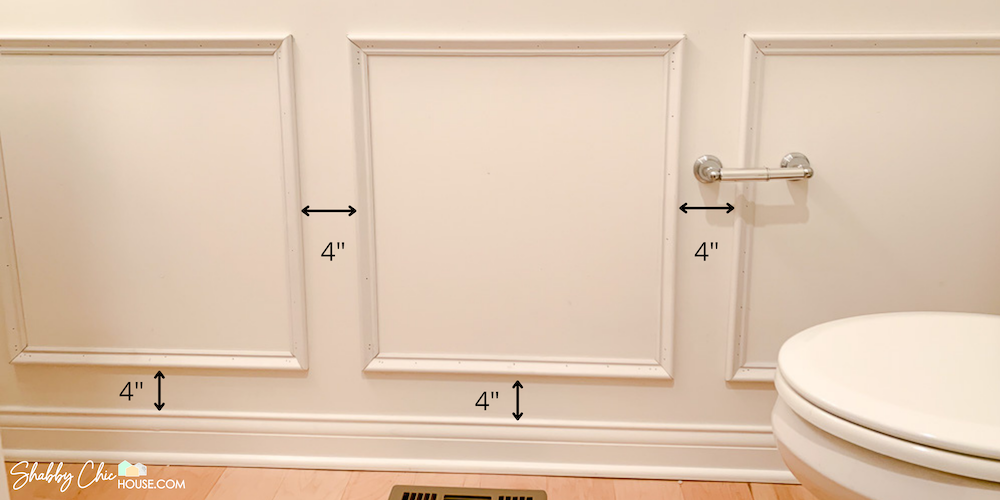
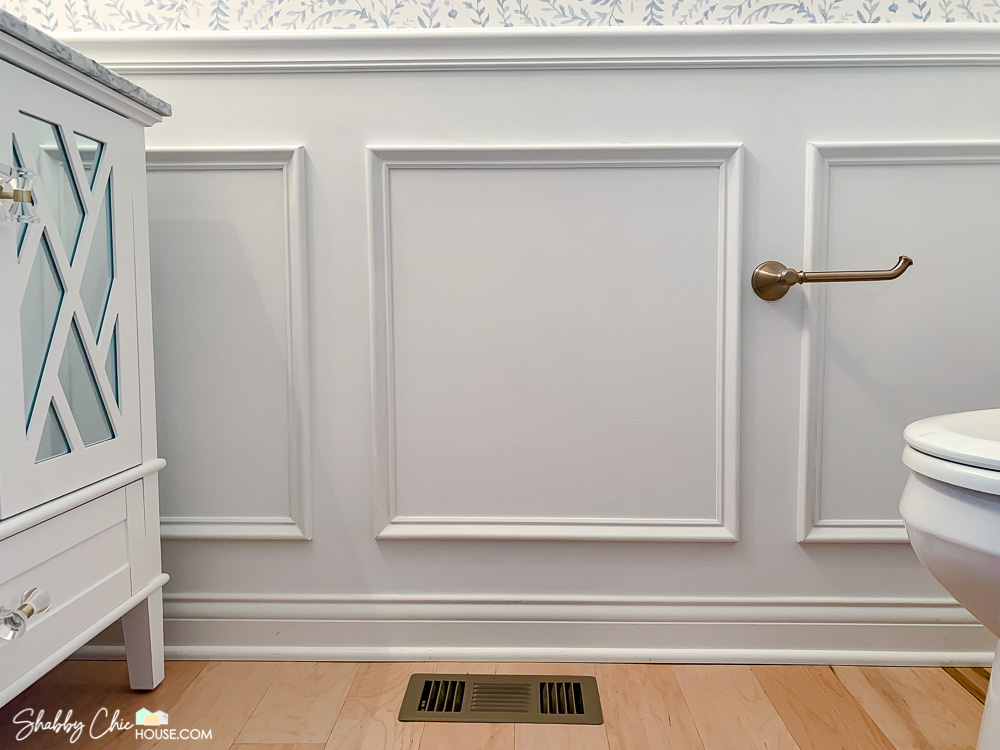
A good wainscoting structure suggestion is to observe is the 4″ rule“. You should really set your wainscoting boxes 4” in from the baseboards, door frames, walls and just about every other.
The top of your wainscoting containers will rely on where by you want to set your chair rail. The standard placement for chair rails is among 32″ and 40″.
The initial function of the chair rail was to guard your partitions from dings created by chairs established versus them. So if you’re wainscoting a dining space you could possibly measure the peak of the chairs and established your chair rail at the corresponding top so they are equally functional and aesthetically satisfying.
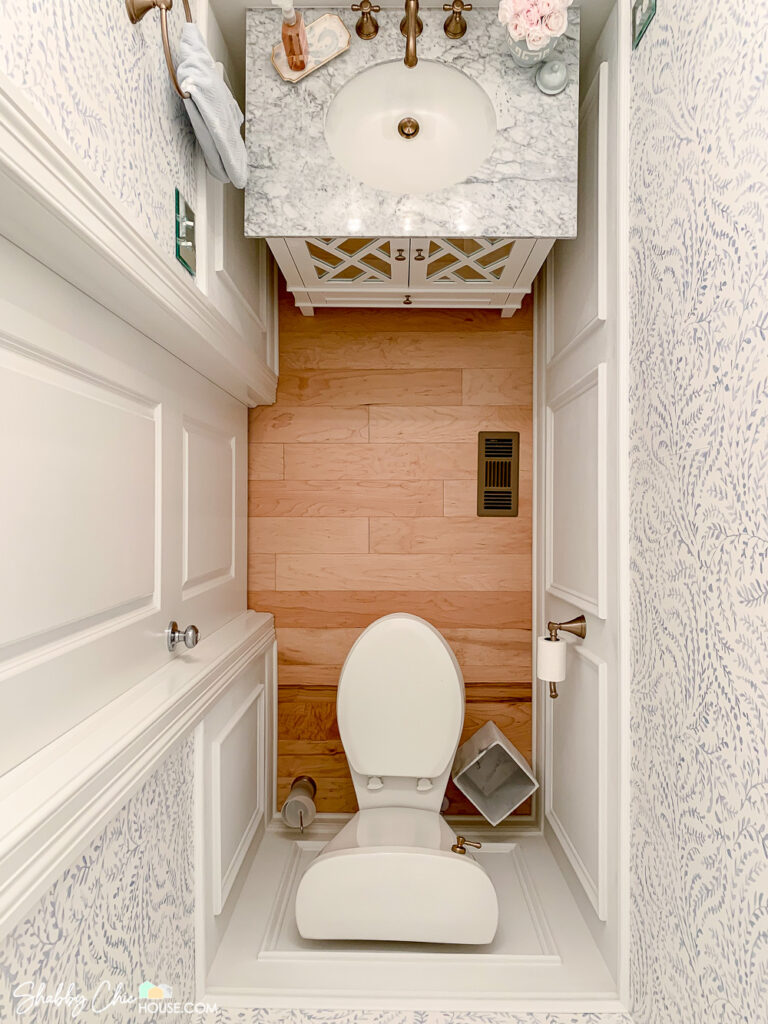
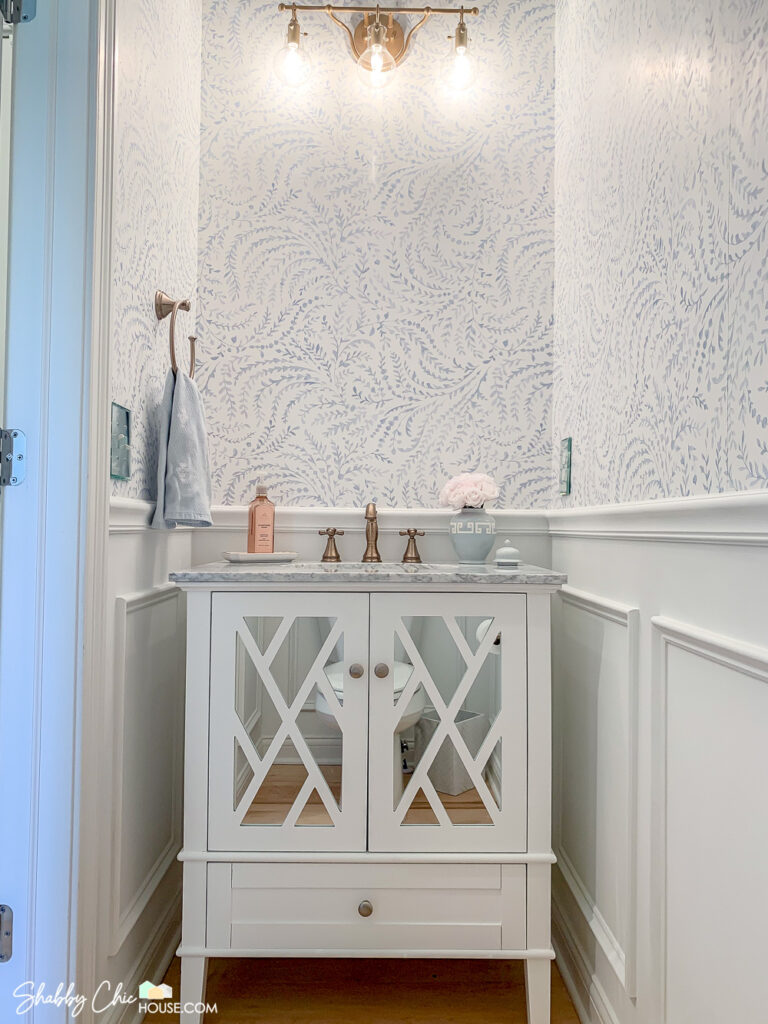
Nevertheless, in a rest room, you can decide on the top that is most aesthetically pleasing to you. In the blue and white floral rest room underneath, I set the chair rail 4″ higher than the countertop. In the pink mermaid-themed lavatory I felt the chair rail looked very best centered on the backsplash. Decide on the top that functions finest for you!


If you are obtaining a hard time visualizing your wainscoting boxes, you can use blue painter’s tape to make foe containers and chair rails.

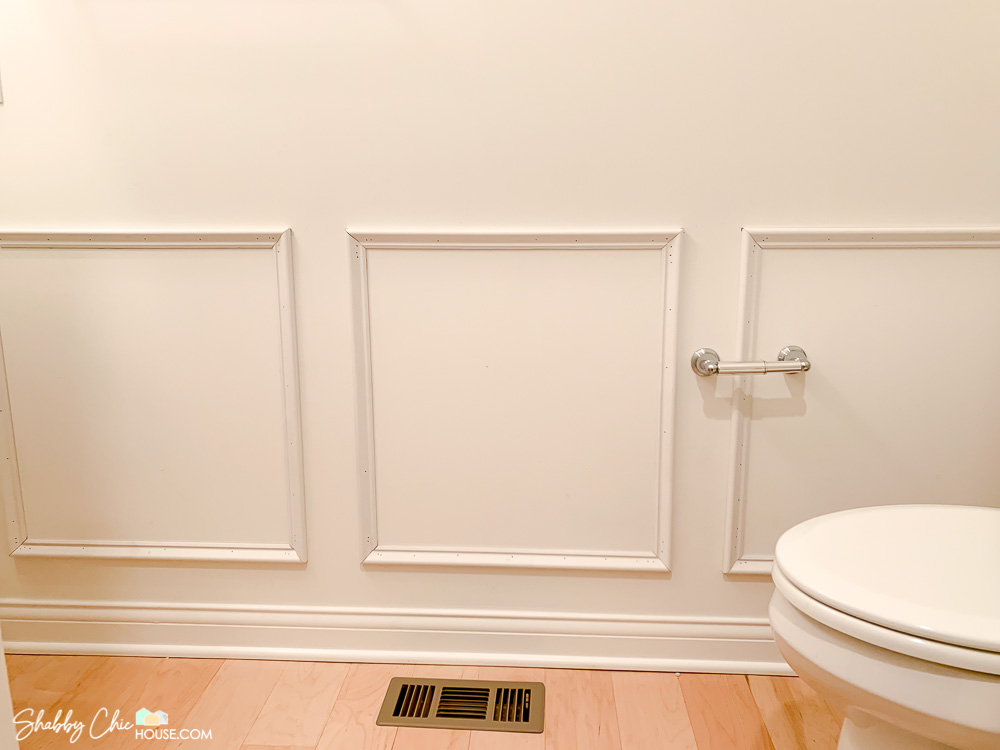
As you are scheduling out your wainscoting structure it is important to be symmetrical. For example, I could only fit one wainscoting box on just about every of the 3 partitions in this small toilet. On the premier wall, I could in shape roughly a few boxes. To begin with, I thought about mirroring the packing containers on the opposing wall, but then I’d have a handful of unique dimensions packing containers. In the finish, the most effective-wanting possibility was to make all three packing containers the same dimension.
How to Lower Wainscoting
If you put up blue painter’s tape to assistance visualize your challenge, it is reasonably straightforward to consider your measurements for every box. Just measure the width and top of every box together the outer edges of the tape.
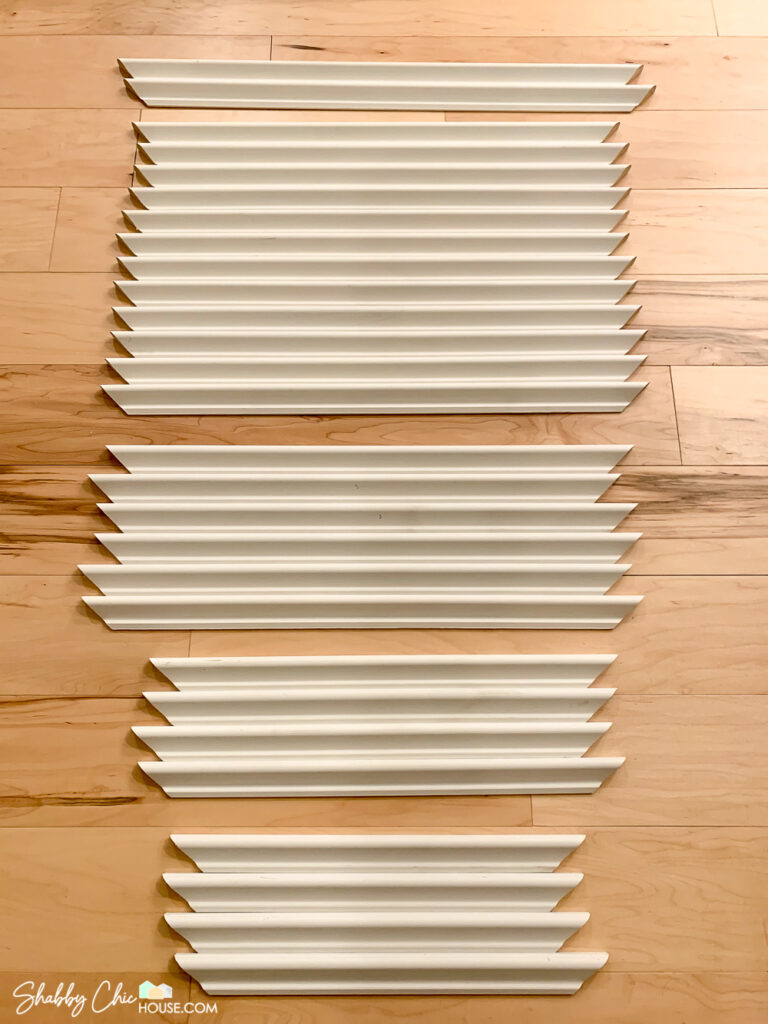
In get to build your box, you’ll have to have to make 8 45 degree cuts (two in every single corner). For my wainscoting projects, I like to use a pre-primed PVC Foundation Cap Moulding.
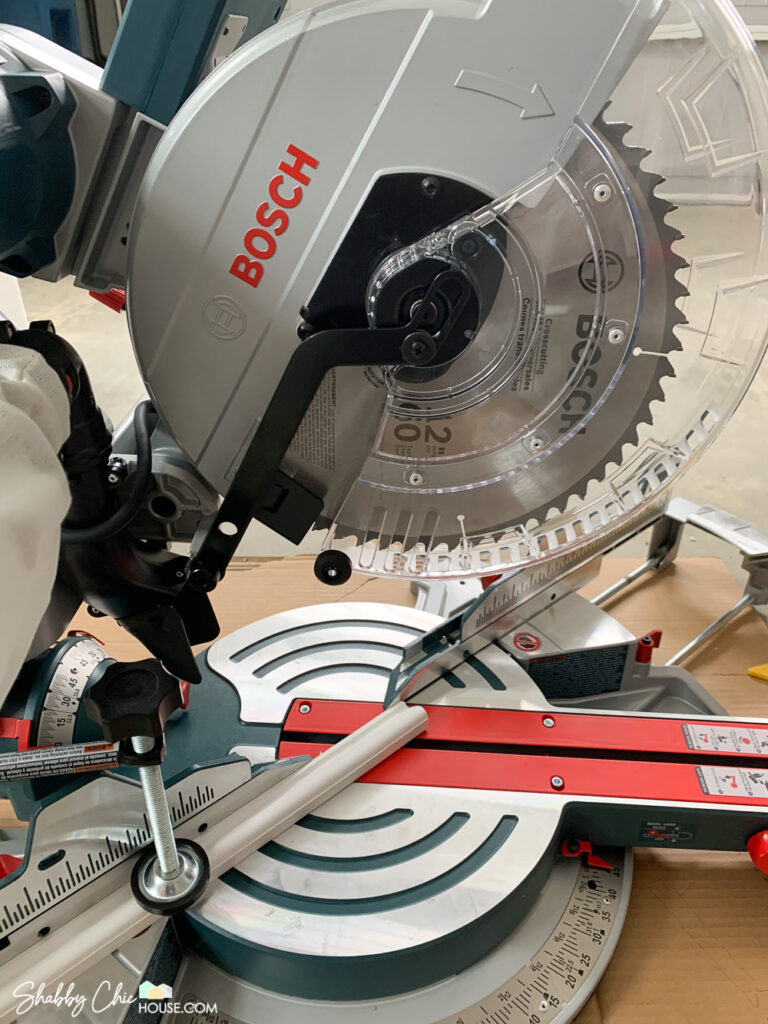
Also, when you could make these cuts by hand, a miter noticed would make this undertaking so considerably quicker and exact. I was in the sector for a new miter noticed, so I scooped up this amazing Bosch miter saw. It’s definitely amazing as it has a patented axial glide arm which lets you to set it on a bench close to the wall. Most other miter saws have bars that the saw slides on and demand you to have the noticed 12 inches away from the wall.
If you’ve at any time had or operated a common miter saw then you know this patented style is a game-changer!
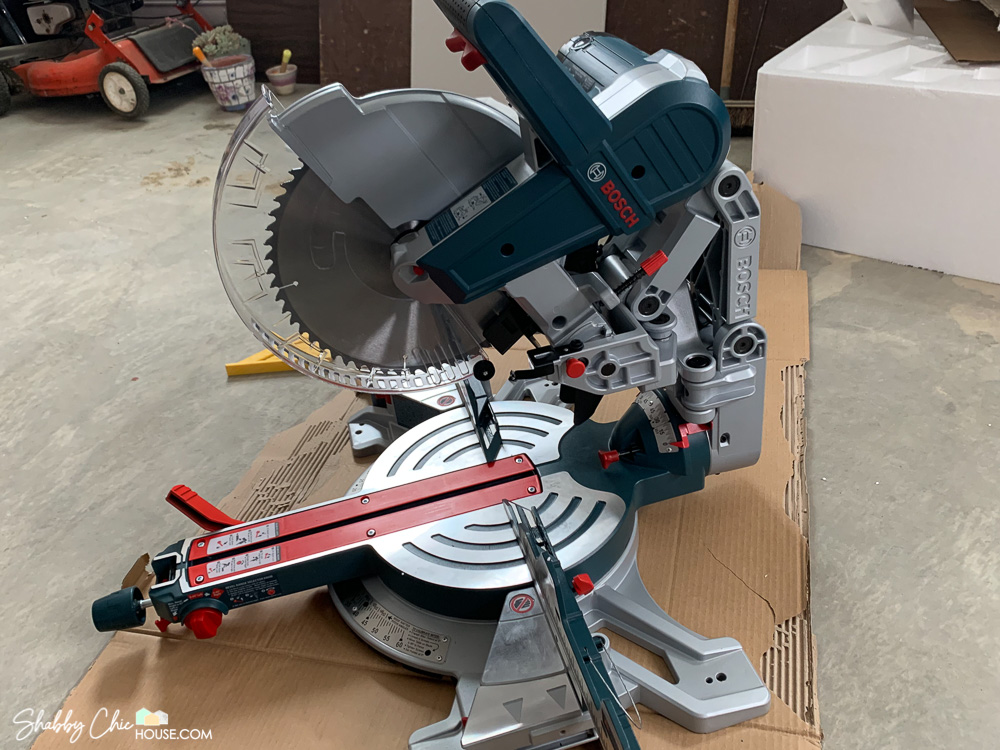

This observed is wonderful and can make each individual venture like slicing by way of butter.
Speedily set to 45 levels and chop. Then evaluate from the outer corner, mark and reduce. Consider of your wainscoting containers as a photo body. The outer edges should be extended, internal edges shorter.
Putting up Your Wainscoting
In get to put in your wainscoting you will need to have the following:
- Development Adhesive
- A degree
- Nail Gun
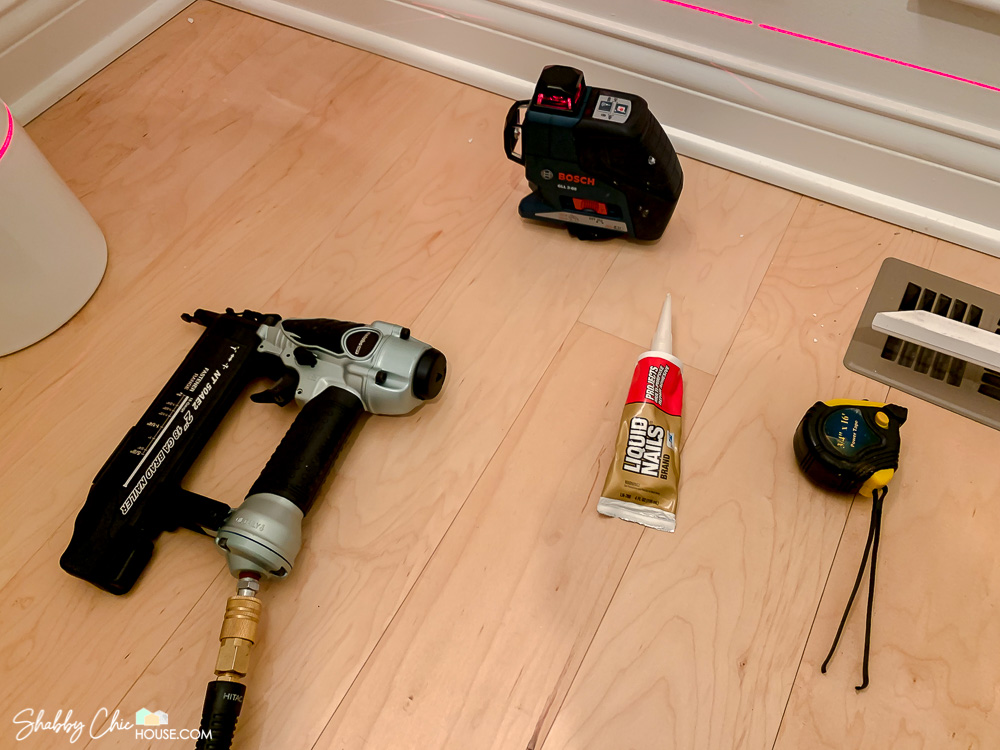
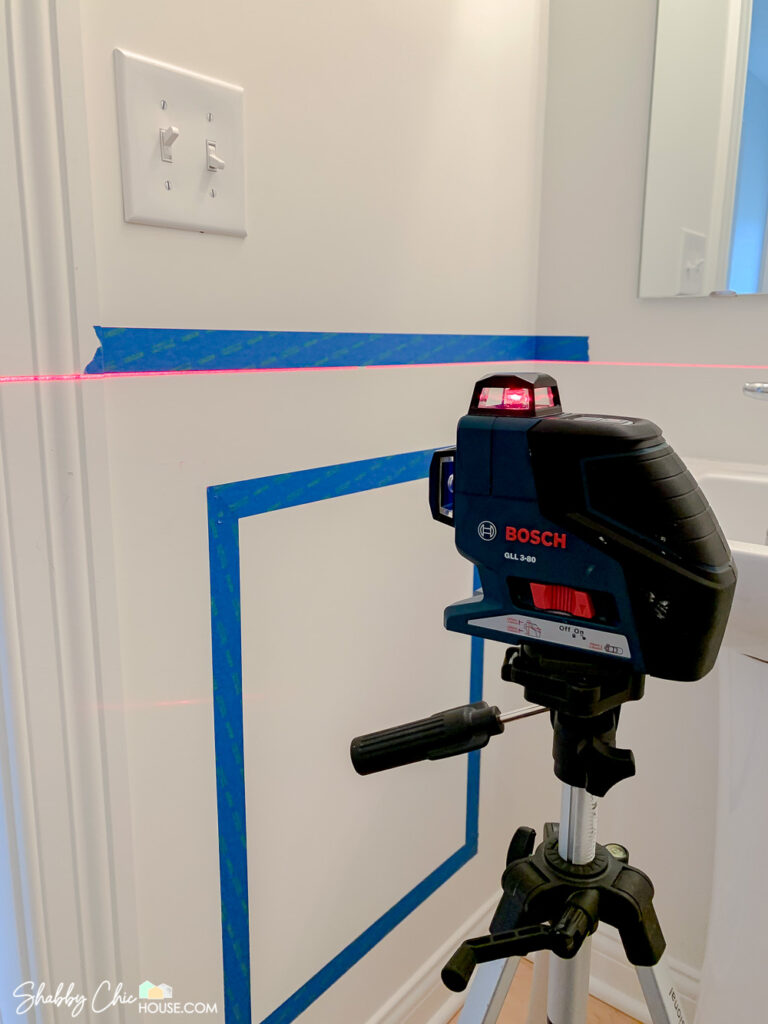
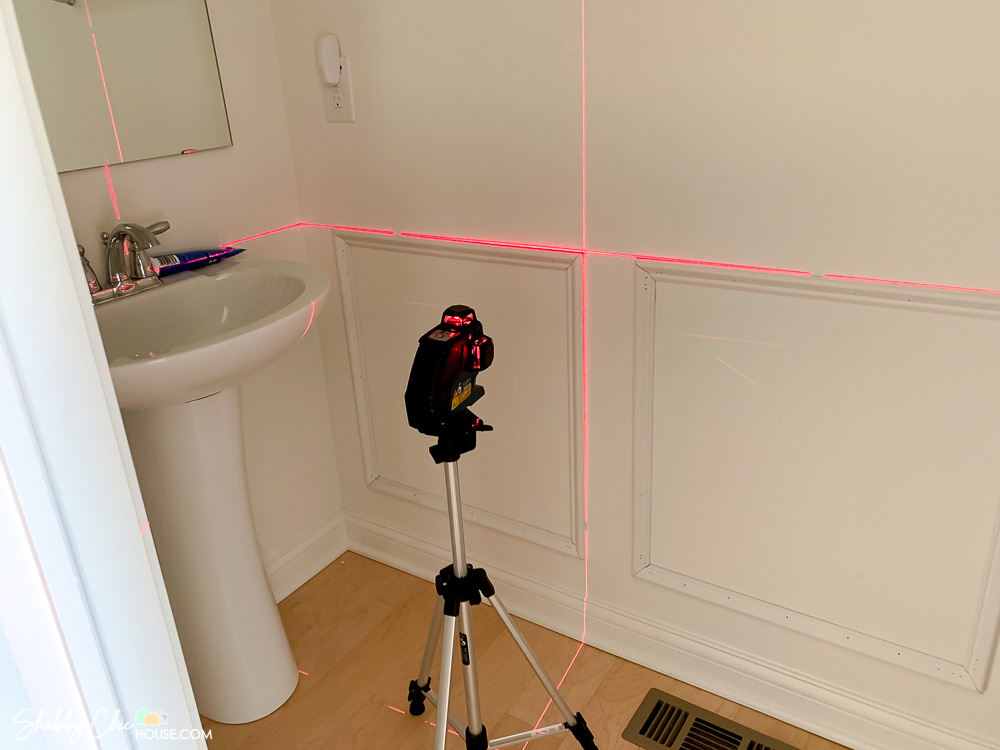
Just one of the most amazing resources at any time produced for wainscoting is the contemporary laser degree. This instrument will shoot a laser line about all four walls of a place encouraging you make positive that each individual wainscoting box you place up is perfectly stage. I bought this Bosch laser level a long time back and have used it on an limitless number of assignments. Look at out how really amazing this stage is for wainscoting in the photos under!
After you get your stage set-up, position a generous volume of Liquid Nails on the again of your wainscoting. Position the wainscoting on the wall and forever protected it in position utilizing a nail gun.
My wife bought me this 18 Gauge Metabo brad nailer and pancake compressor a several yrs again. It’s served me perfectly and I’ve employed it for wainscoting, crown molding, filling the car tires with air and more!
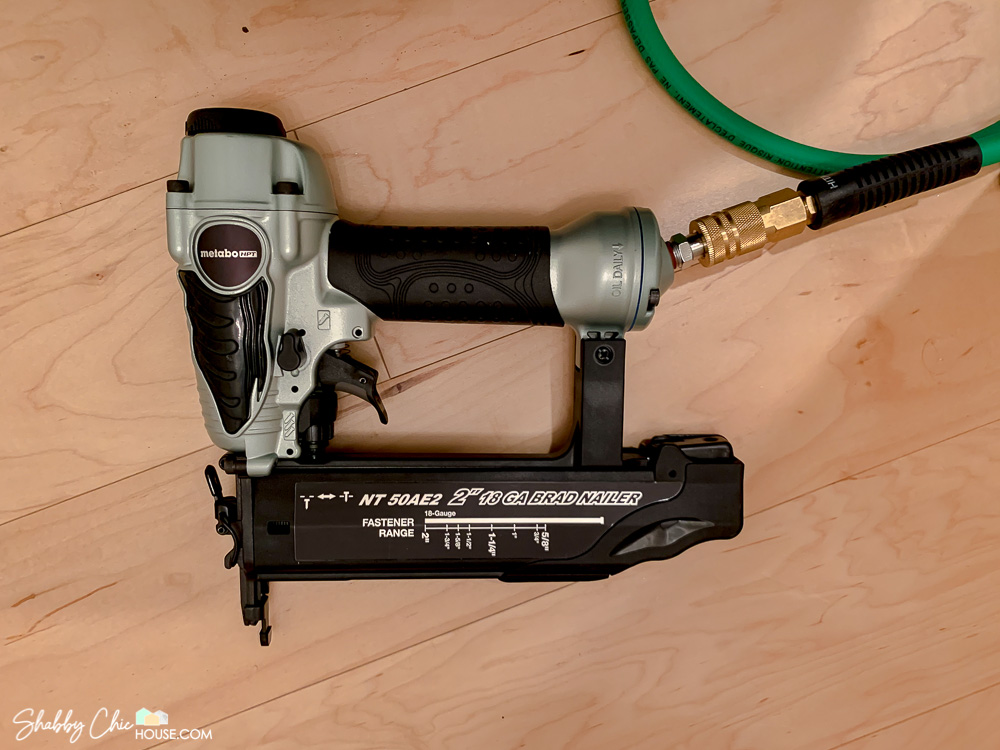
For this type of job, you are going to want to use close to an 18 gauge 2″ brad nail.
As soon as you get the major of the box up, increase the two sides (once again using your level) and then lastly the bottom of the box. Check out the photograph below and how the multi-beam laser stage can aid you great ideal 90-degree boxes.
Punch & Patch Your Holes
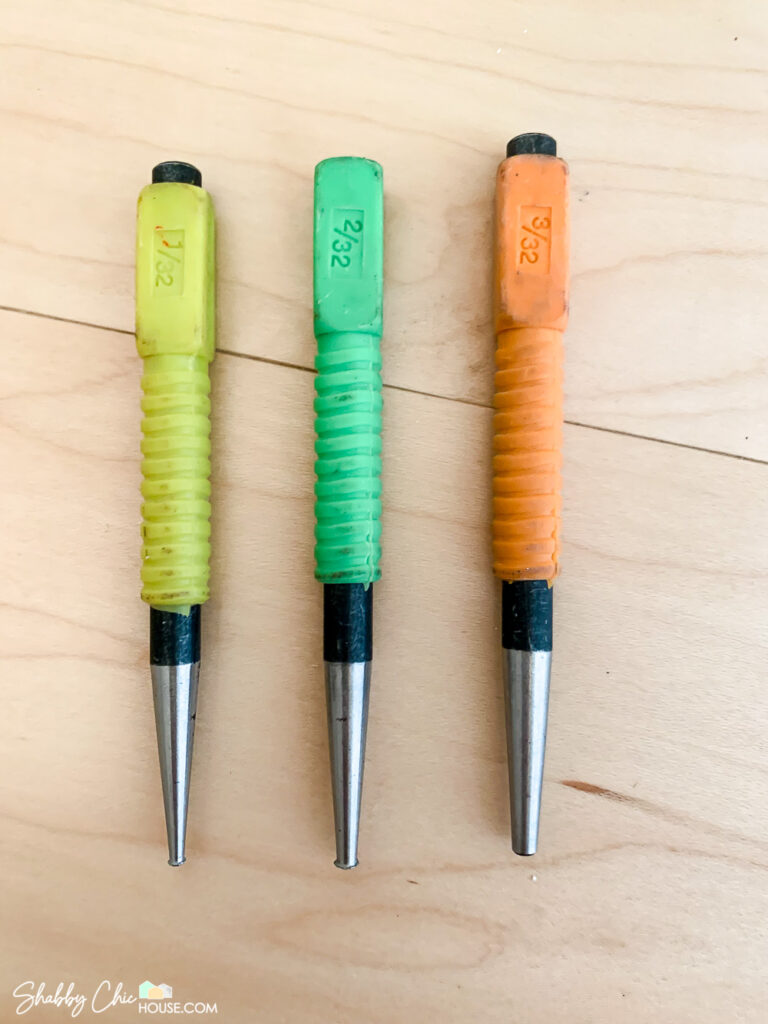
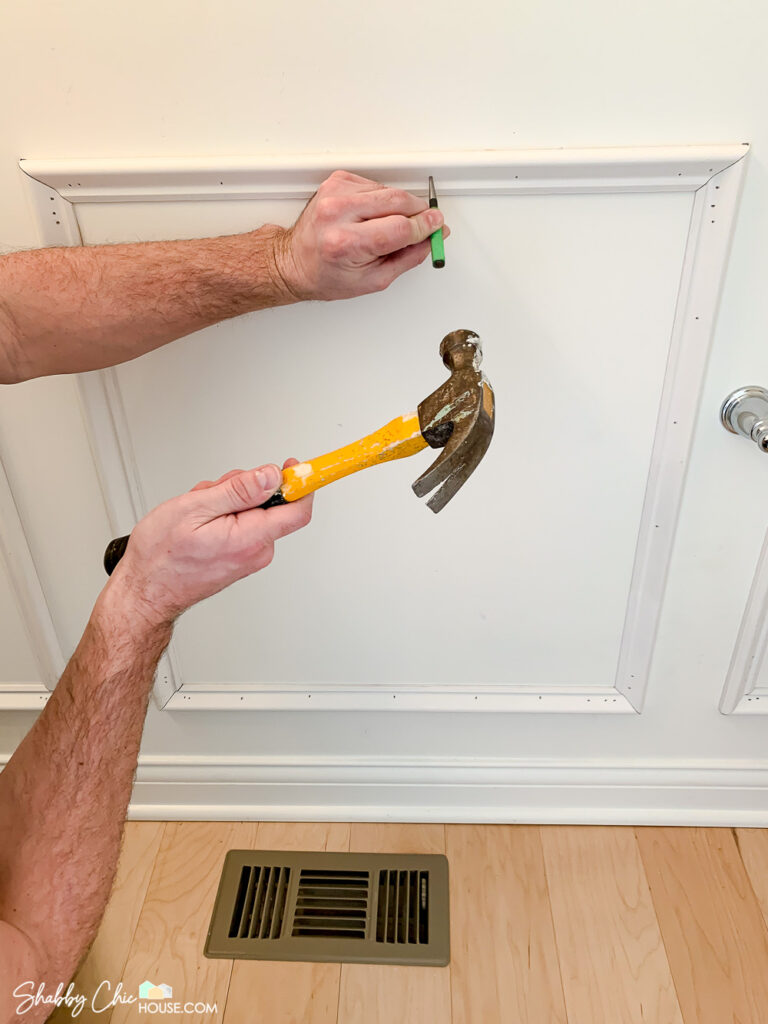
Now that you have your wainscoting up on the partitions, the final step is to hide the nail holes and contact up the wainscoting. Commence by inspecting every single brad nail. Pretty from time to time you may have a nail that didn’t sink 100% beneath the wooden. If so, use a punch set and a hammer to sink the brad nail beneath the wood.
Subsequent, use a sandable and paintable putty to fill the nail holes. I like DAP’s DryDex as it goes on pink and turns white when it’s 100% dry and ready for sanding.
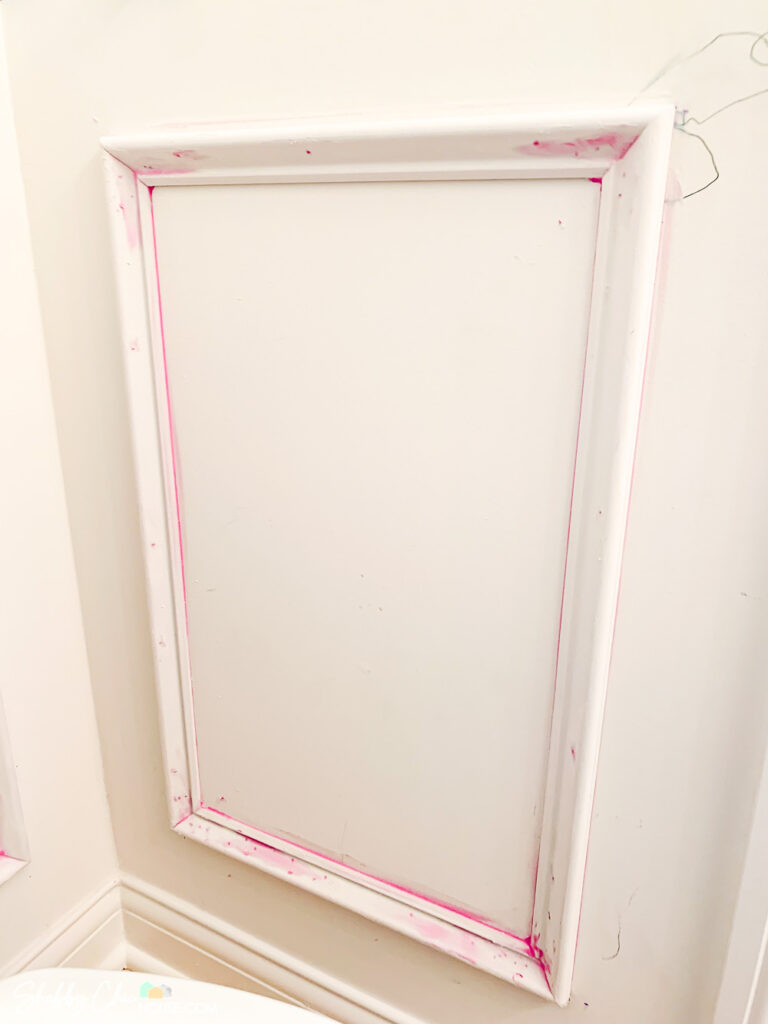
Past – sand, paint and take pleasure in!
If you favored this put up and are however hungry for additional wainscoting written content, check out out the ShabbyChicHouse featured on RealHomes.com tale about Diy wainscoting.
And if our blue and white floral wallpaper caught your eye verify out our other Do it yourself tutorial on How to Put in Wallpaper — Here!


