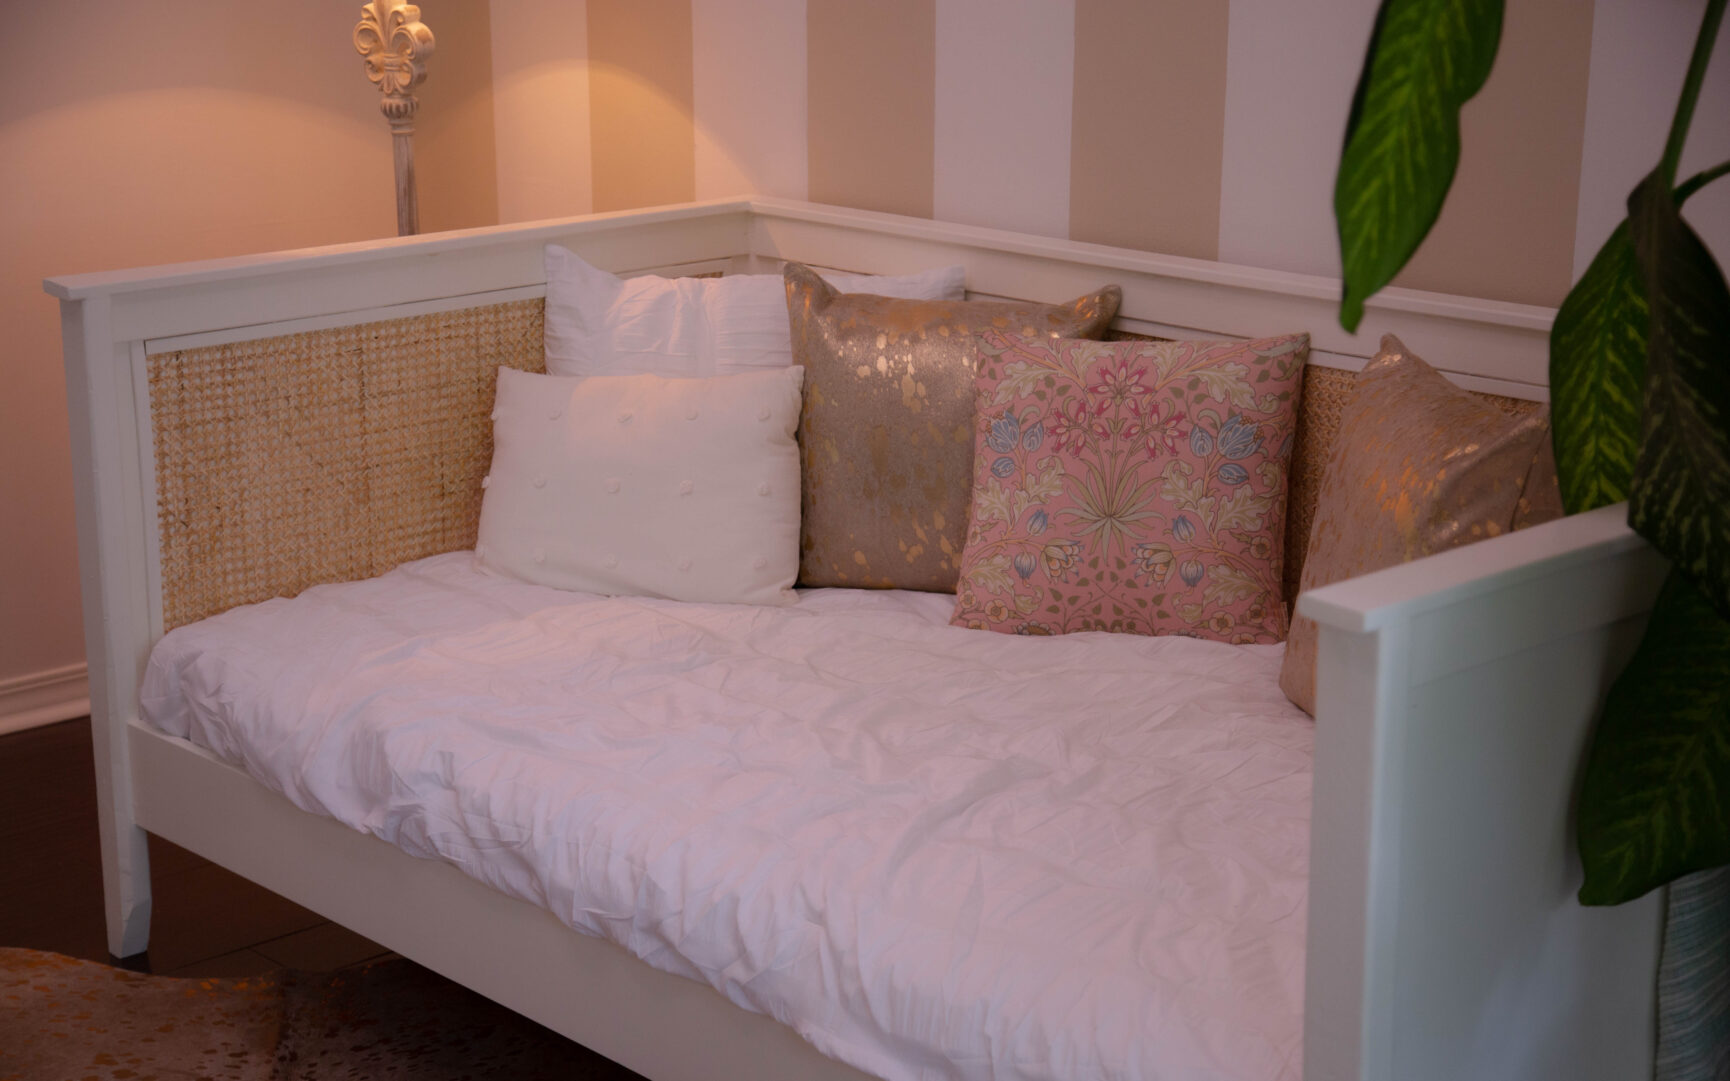
Day beds are versatile pieces of furniture that don’t have to be confined to a bedroom.
Place a twin-sized one in a den for both comfy lounge seating and a spare bed for guests.
Here’s how to build one yourself.
Materials
Cut List
These are the cuts you’ll need for a twin day bed. You can alter the dimensions depending on the size of your mattress.
- (4) 2×3 at 34-1/2 inches (legs)
- (4) 2×3 at 40 inches (side rails)
- (2) 3/4-inch plywood at 40 inches by 26-1/2 inches (side panels)
- (1) 3/4-inch plywood at 77 inches by 26-1/2 inches (back panel)
- (2) 1×4 at 34-3/4 inches (side rails)
- (1) 1×3 at 77 inches (back rail)
- (1) 1×6 at 77 inches (front rail)
- (3) 1×3 at 77 inches (mattress slat supports)
- (2) 1×3 at 40 inches (mattress slat supports)
- (17) 1×3 at 41-1/2 inches (mattress slats)
Build Side Frames
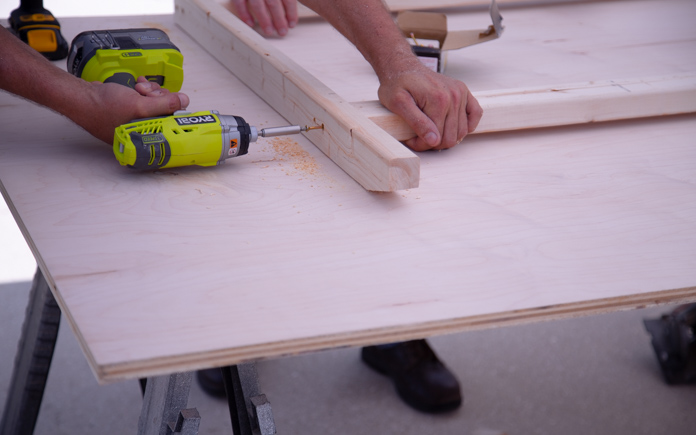
Begin by cutting the 2-by-3’s for the two side frames. Layout these parts on a table and attach the horizontal rails between the vertical supports.
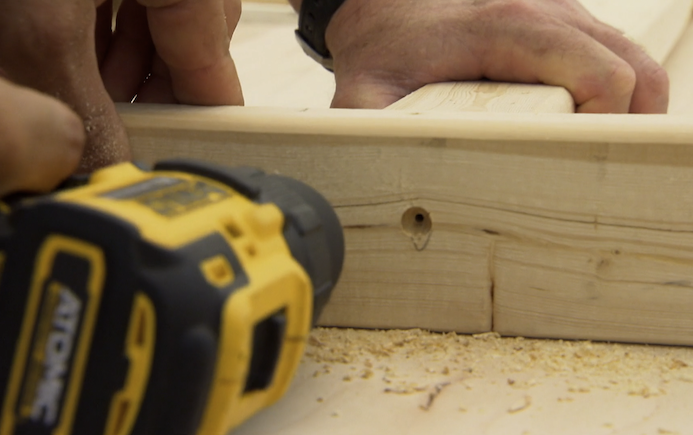
Pre-drill with a countersink bit so you can putty over the screw holes later.
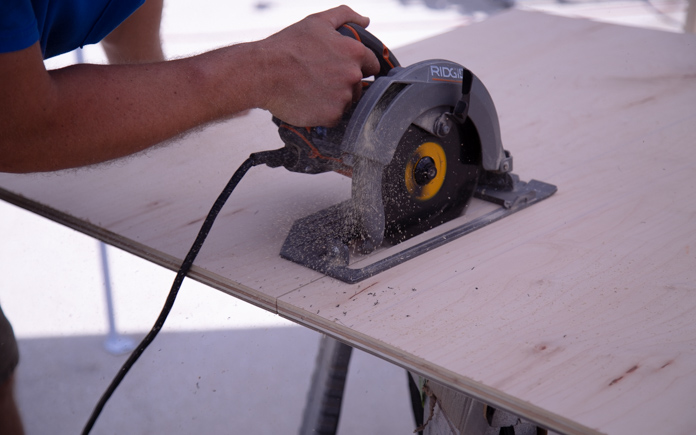
When both sides are assembled, cut two pieces of plywood to the inside dimensions of the frames.
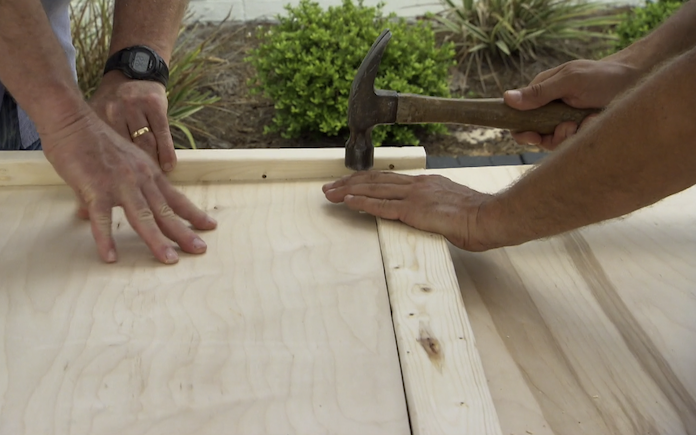
The plywood panels fit inside the frames, centered on the 2-by-3.

Fasten the plywood using the same technique used on the frame.
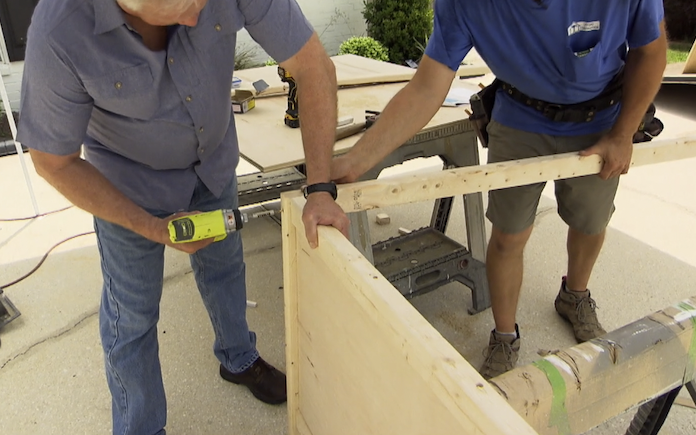
Connect Sides to Back Panel
To construct the back of the day bed, join the two sides with 2-by-3’s at the top and bottom that are the same length as the mattress.
Cut another plywood panel to fit into this opening and attach it just like the side panels.
Add Support and Front Skirt
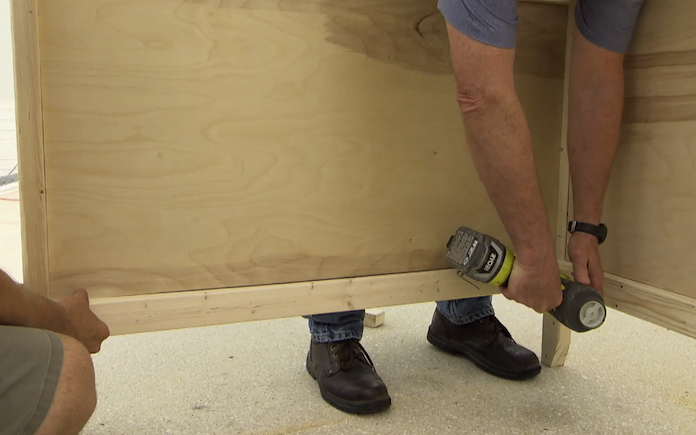
Next, attach 1-by-3s to the inside of the bottom rails using finish nails.
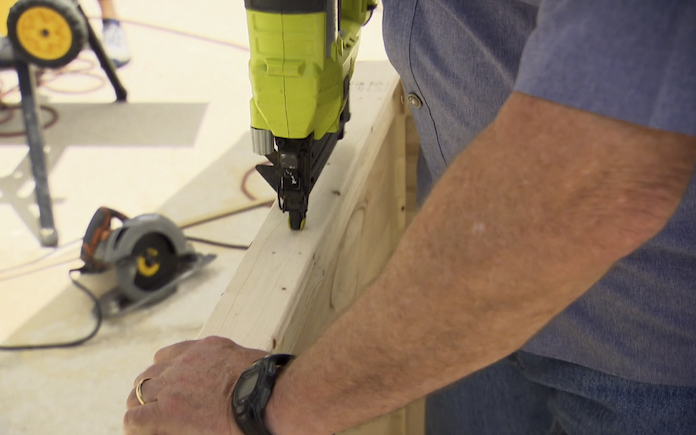
Cap the top of the frame on both sides and the back with more 1-by-3’s.
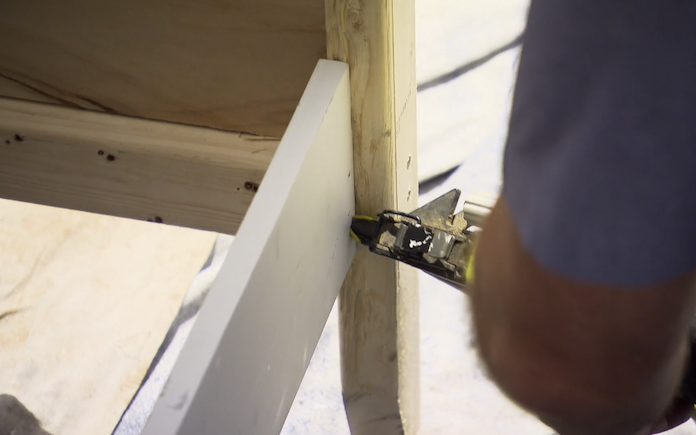
Across the front of the bed, nail a 1-by-6 skirt board between the sides, flush with the inside edge of the frame.
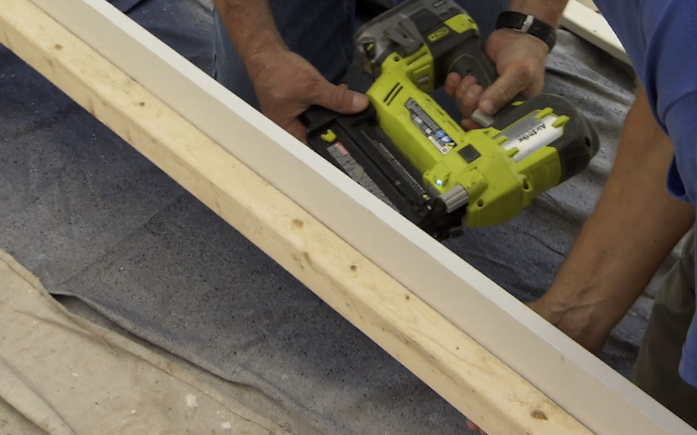
Screw in a 2-by-3 behind the front skirt to support it.

Next, add another 2-by-3 support midway between the front and back of the bed.
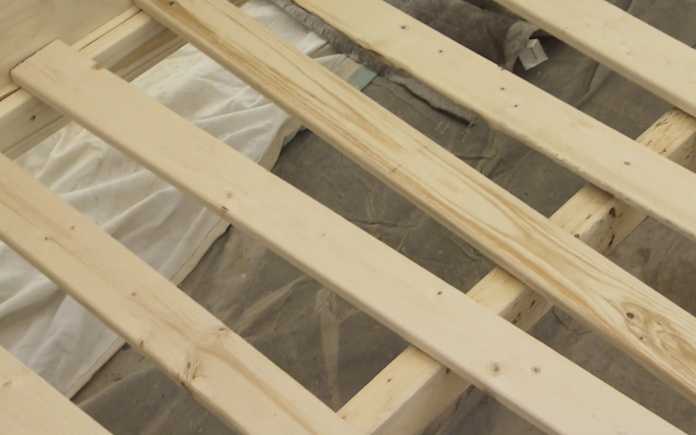
Add support slats
Attach the 1-by-3 slats that will support the mattress from front to back. Space them at about three-inch intervals.
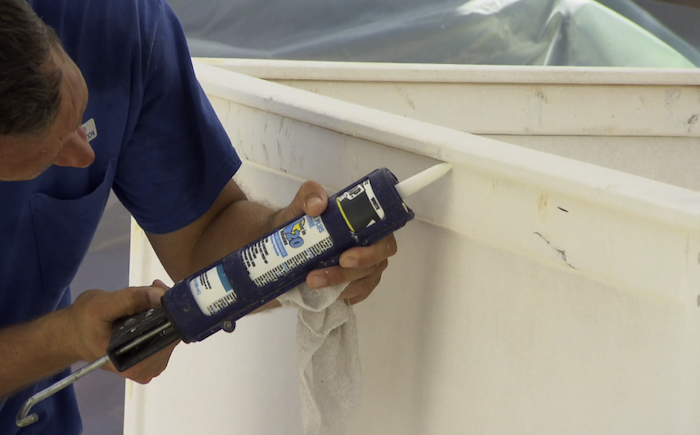
Paint and Add Caning
Next, prime the frame. Caulk all the seams for a seamless finish.
Then, apply two coats of paint.
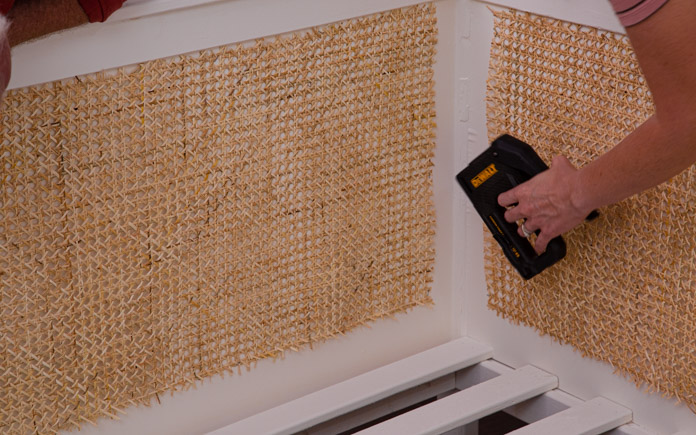
The final touch is the addition of caning panels on the sides and back of the bed.
Roll the caning out and cut it to size. Then, staple it in place.
Attach a piece of narrow molding to conceal the ragged edges and give the bed a finished look.


